Your Cart is Empty

Wrapping your brand new handlebar tape requires practice and patience, however it's a skill that most people can accomplish well and saves you a bit of money rather than relying on your LBS to do it.
1) Carefully pull back each rubber brake lever hood to expose the lever body.
2) Remove the existing tape, cleaning off any leftover lumps of the adhesive tape. Make sure that any brake / gear cables are firmly taped to the handlebars - electricians insulation tape is far the best for this.
If you've been previously involved with other bike maintenance tasks, take a break and wash your hands, you don’t want to make your fresh white handlebar tape dirty before you're first ride!
3) Put one of the shorter pieces of Cinelli bar tap around the brake lever mounting strap.

4) Starting at the end of the handlebars, wrap the bike ribbon around one end of the handlebar giving it a complete turn inward. Us bike riders tend to torque the handles bars when under pressure - therefore it's necessary to fit the handlebar tape in a clockwise direction for the right-hand side and anti-clockwise for the left-hand side to help prevent it coming loose.
To help to fit the handlebar end plugs later, I recommend having 10mm sticking out as an overlap.

5) Continue to wrap the ribbon, continually applying pressure so that it remains neat and tight - but not too tight - you don't want to break the tape
Use the design of the handlebar tape to your advantage, allowing you to keep a constant gap between each turn.
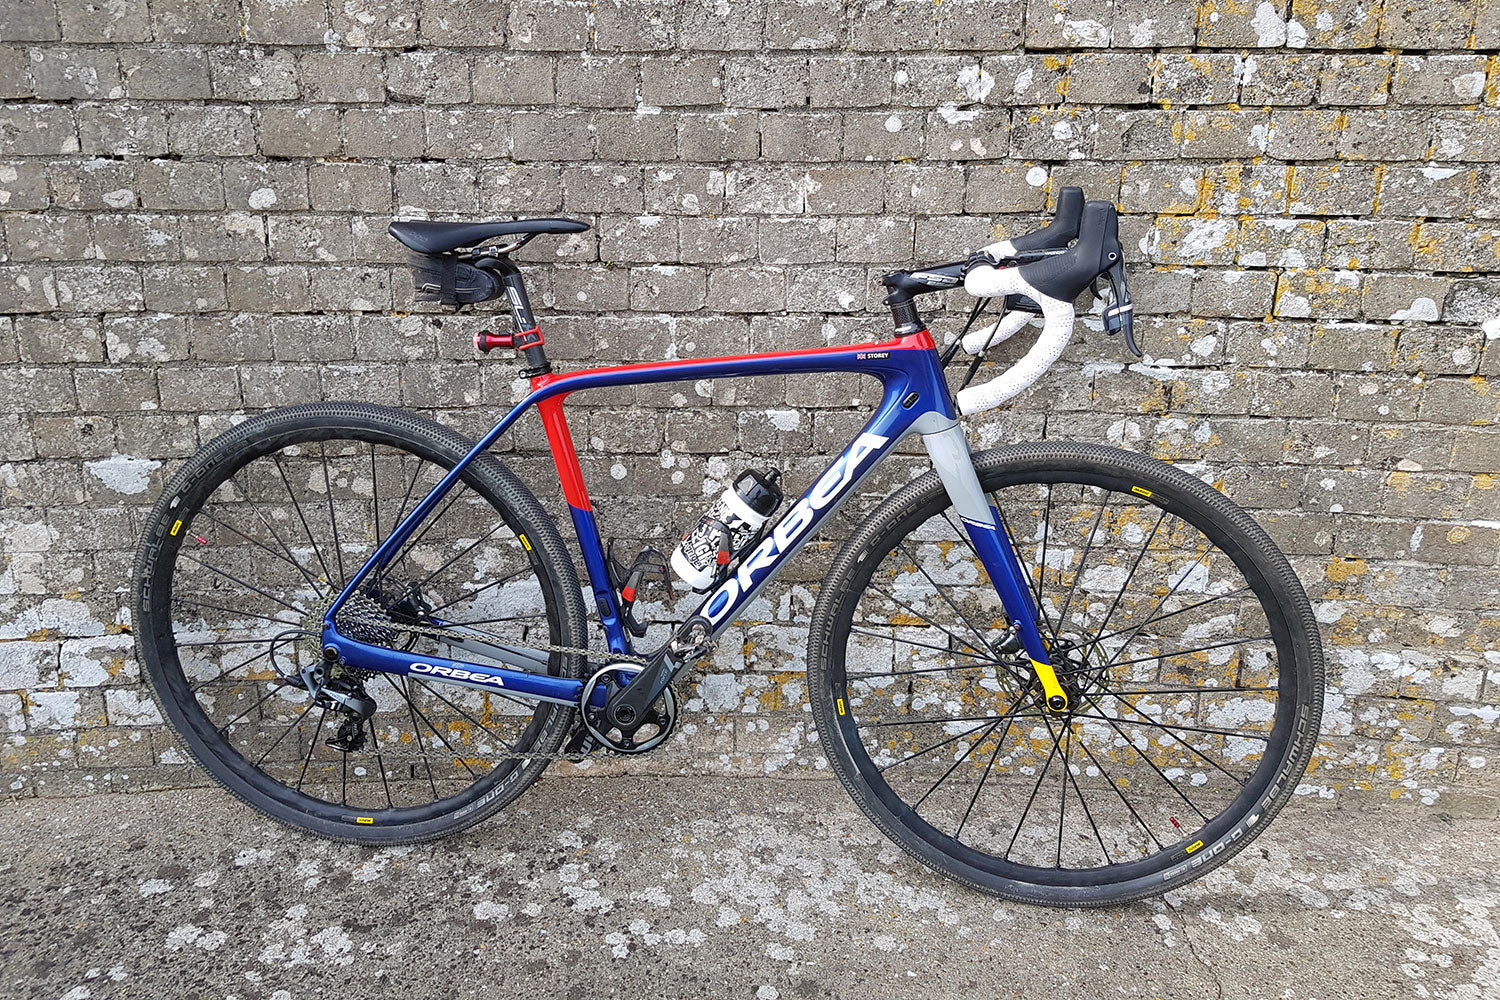
This was particularly easy with the white Cinelli Caleido tape bar tape I choose for my Orbea Terra gravel bike, as the rows of dots give you an excellent guide throughout the process.
6) There is often too much tape left over, so cut any excess off with a sharp pair of scissors and fix either with the sticky tape supplied or use (my preferred option) using colour-coordinated electricians insulation tape.
7) Set the bar end plugs in position, using a small flat blade screwdriver to carefully tuck the 10mm ends in place. If the end plugs have logos, try and set them level.

8) Now simply repeat for the other side and enjoy our first ride with your freshly wrapped handlebar tape!
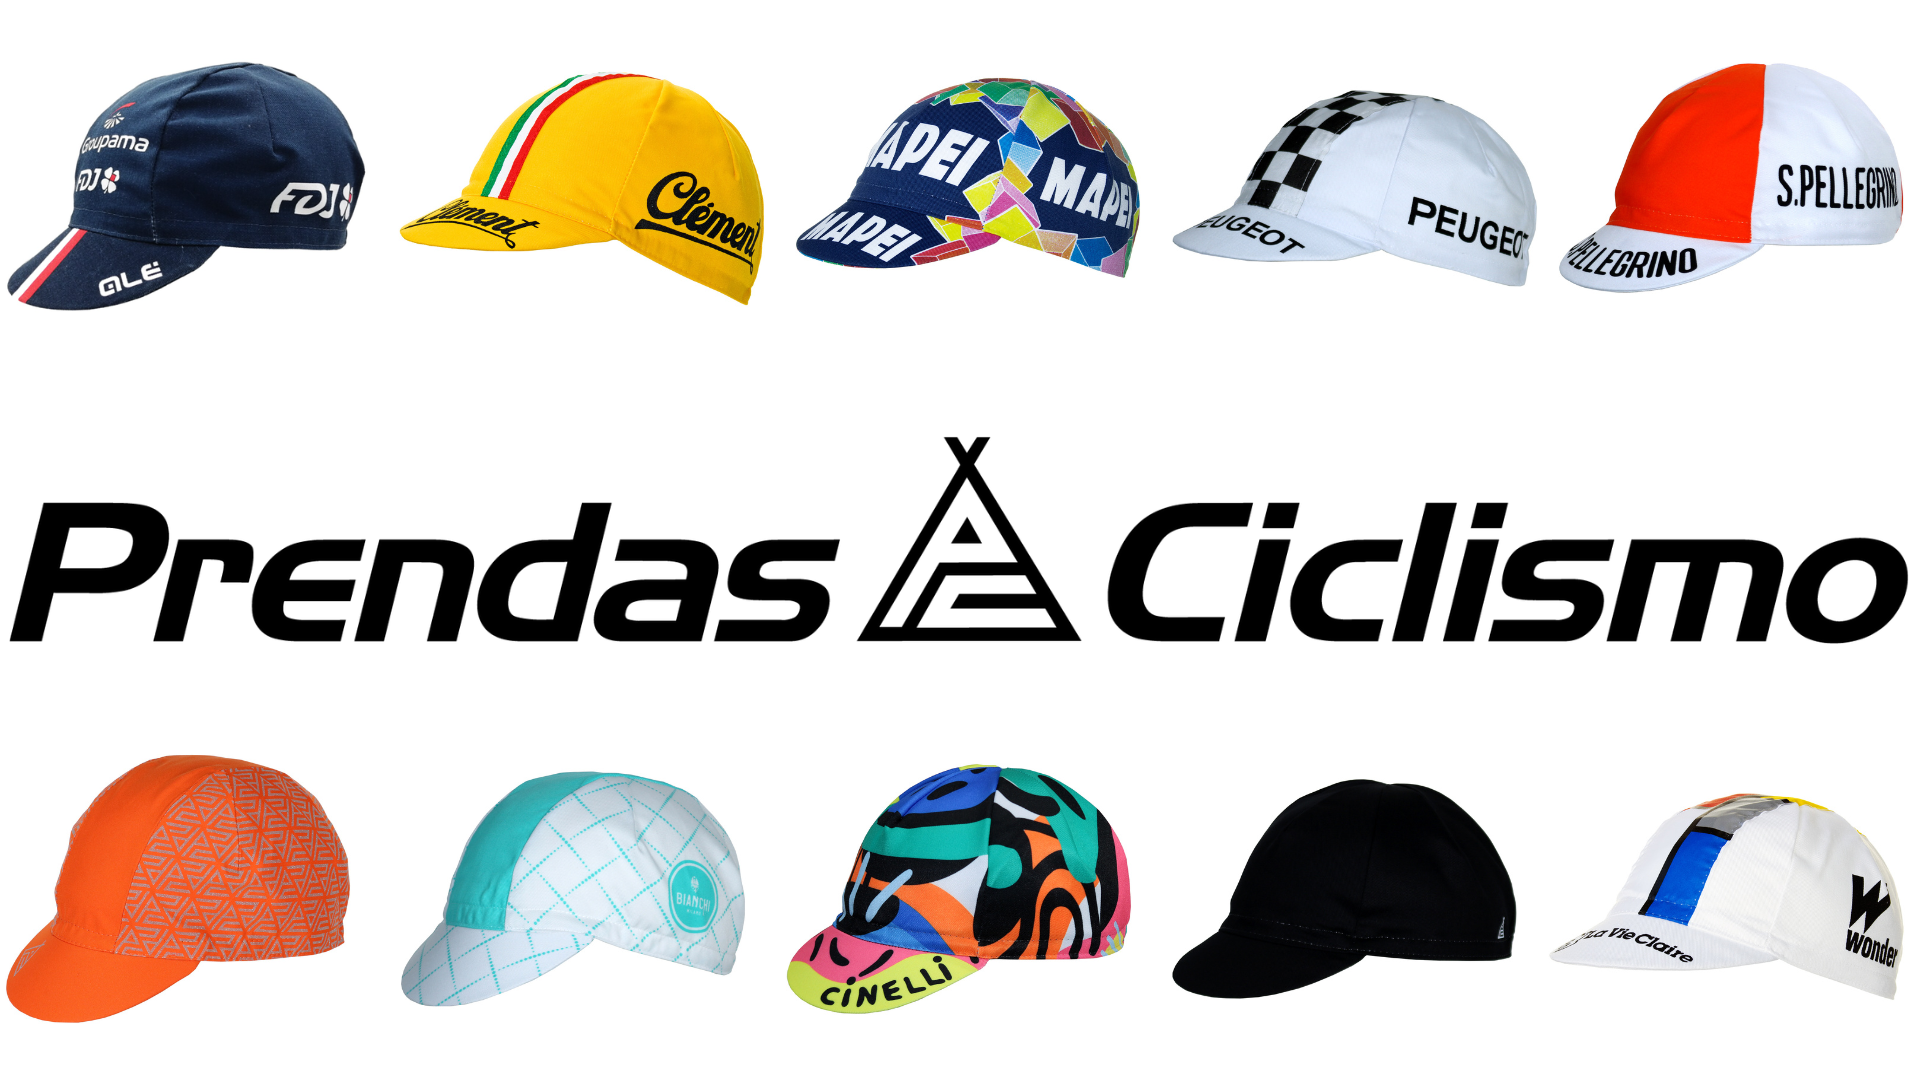
We know caps here at Prendas Ciclismo, and we know that you love all the styles we have on offer. So every year, we look back at our best-selling cycling caps for the previous year for you to discover a few new styles. Is your favourite cycling cap featured on our list? Read on and see!